There is nothing more frustrating than having a stuck key on your piano! Having lived with a stuck key for the past month, I was about ready to get rid of the piano and get me a new one. You just can’t live with a stuck key for that long!
Thankfully, my husband was able to fix it with just a flat head screwdriver. AND he did it in less than 5 mins! I just wish he had only taken the time to fix it a month ago and saved me all that frustration.
We actually had TWO stuck keys. One of the keys would work occasionally, but it was what I would call “sticky”. It would play, but not like it should. The other key didn’t work at all. It would stay pressed down, unless we lifted it up. No sound could be had from that key. Luckily, both of the keys were easily fixed! Here’s how we did it.
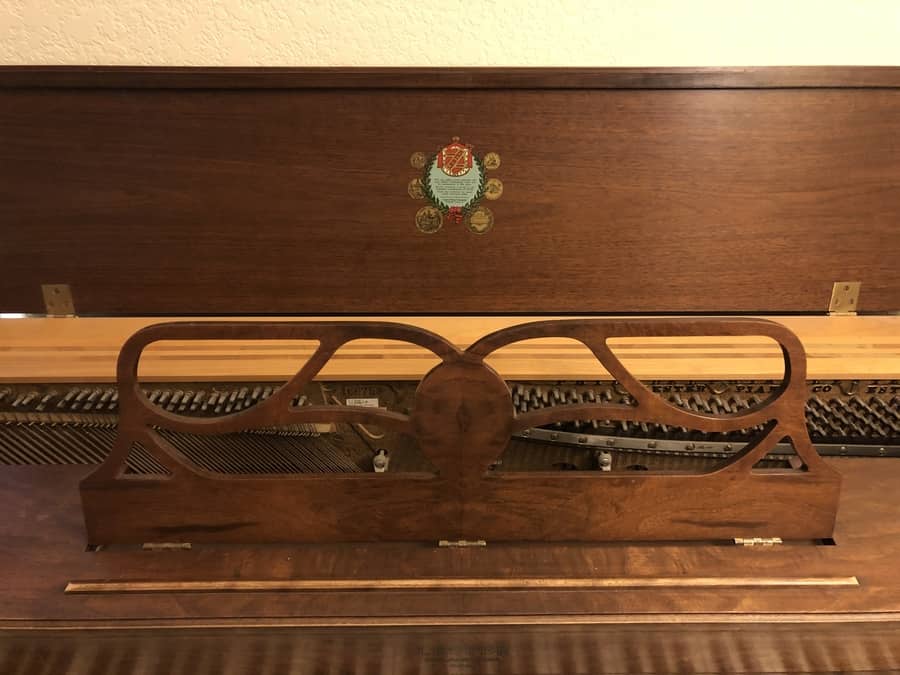
1. Lift the lid and check it out.
We lifted the lid on the piano and closely inspected the workings of the piano for anything that looked “out of the ordinary.” Other than a lot more dust than we were expecting, we didn’t see anything unusual. Of course, we are no experts with the intricate details of the piano, but it does seem to make sense when you study it for a bit.
I do happen to keep items such as pencils, erasers, flashcards, and knickknacks on top of the piano and it certainly wouldn’t have surprised me to find something had fallen down in. So I kept checking it out. But still no luck.
So we had to dig a little deeper.
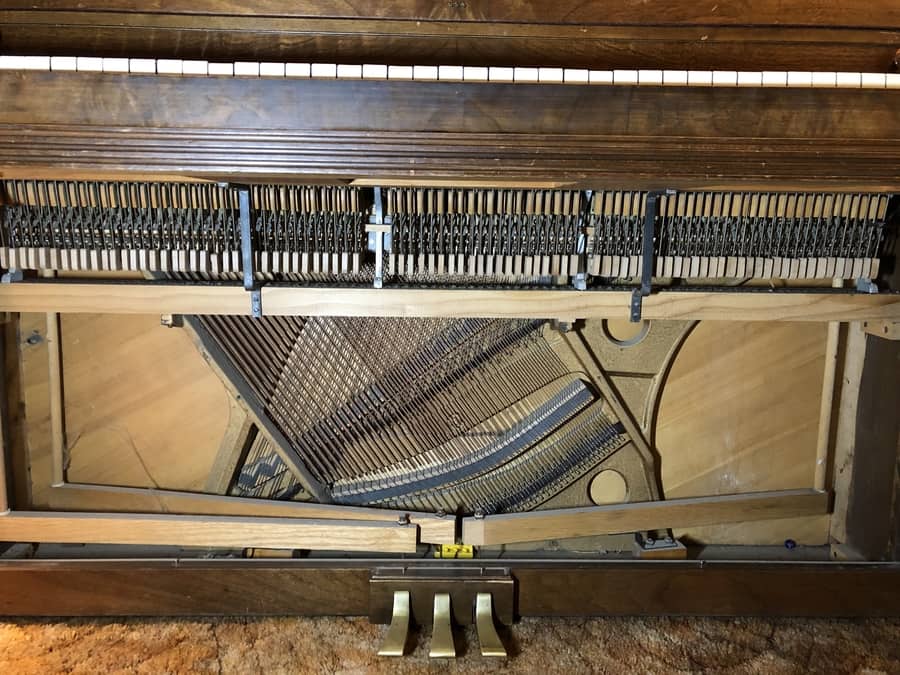
2. Take off the front panel.
We have an upright piano and on the front of the piano, you can easily remove the front cover. For our piano, you have to just simply push in the little metal brackets and it will pop out. Super simple, and I am guessing it would be super simple for you to remove the front as well.
I definitely was surprised to find even more dust and a few cobwebs as well. Even more surprising was the collection of other items that had collected at the bottom of the piano: a marble, a pencil, a little plastic toy disc, a lego, and a piece of paper.
Once we took off the front panel, we could lay down and look up into the piano. While pressing the stuck key up and down, something that we couldn’t see from the top of the piano could be seen from the bottom as we looked up into it. A pencil had lodged down between the hammer and the strings. We could carefully maneuver it out of there.
As we did so, I couldn’t believe how much several of the keys had been affected and I hadn’t even realized it! All of a sudden, all of the keys relative to the stuck key were working much better.
In the future, I think this would be a good diagnostic for a stuck key: if other keys close to the stuck piano keys are being affected, it is likely an item that is stuck in the piano.
Key #1 was unstuck! But there was still another key to solve.
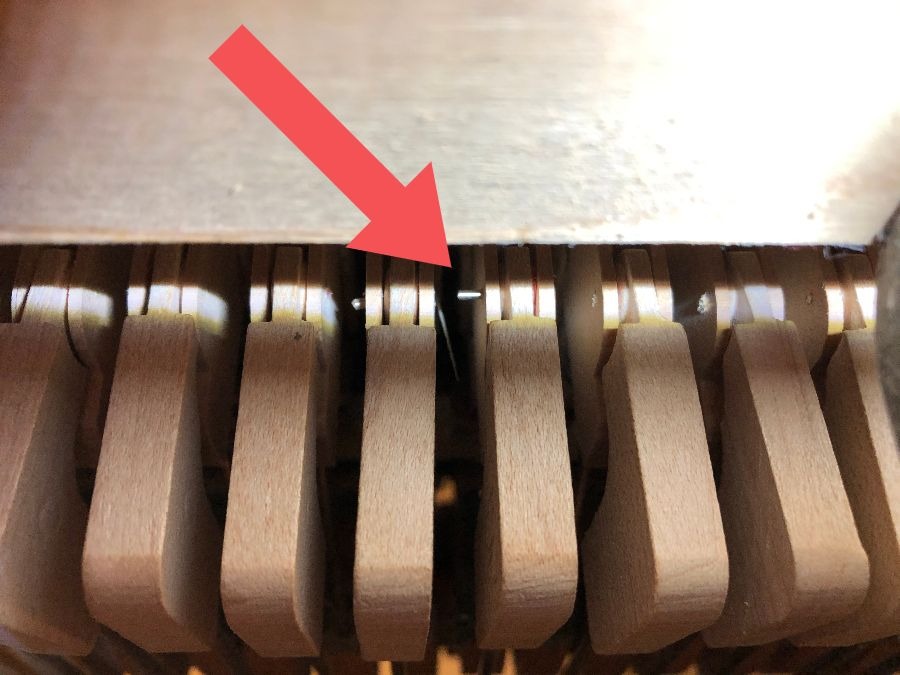
3. Inspect the stuck key(s).
As we looked closer at the stuck key, we could tell that it was not connected as the other keys were in the piano. Again, this was figured out as we lay flat on the ground and looked up into the piano from the bottom side. You could see the three parts that were not connected as they ought to have been.
If this is your issue, it is easily solved.
4. Re-insert the rod carefully.
With a flat head screwdriver, we could re-align the hammer and gently push the rod back into its spot. We couldn’t get it quite in all the way, but we did our best. We wanted to be very careful and not do any damage to the other keys at all. That’s the last thing we would want — to accidentally do more damage while fixing the key!
As we re-inserted that little rod, it hooked up the key and it works fabulously now! If that little rod were to fall out again, we can fix it again, no big deal. It really didn’t take long and I feel confident that I could do it as easily as anyone else could.
Things to Watch Out For!
Just to reiterate, you will for sure want to be careful as you work under the panel and under the lid of the piano. You will not want to cause any further damage. I would suggest wearing gloves and avoid touching anything you don’t have to. The less you touch, the less you could cause damage to. Gloves will help any oils from your hands getting on the strings or the pads.
Preventative Measures
I am a little more wise than before. Now that I know what can cause a stuck key, I am even more careful about letting little items on my piano. I have a mug next to the piano to put my pencils in (since I always have a pencil next to my music — I use it constantly!). If I can stick to the habit of putting my pencils in the mug instead of on the piano, it will certainly be less likely to fall in again!
I will try to do this, but of course, some things just happen. Pencils just slip out of your hands. Little items just happen to find their way down into the piano. I am comforted to know that it’s not that hard to open it up and check it out!
If That Didn’t Work
If this didn’t work for you, then you can always call a piano tuner. They are very likely to know the problem and fix it for you. They will likely do a fabulous job of it and they are trained to do it, too. It’s likely that a piano tuner will cost you about $100 to come out and take care of it. But they may include a tuning of the piano while they are at it as well.

Tel loves her life as a piano player, a piano teacher, and a mom. Amid piano blogging, piano teaching, and piano playing, she loves a chance to fit in a good exercise class, volunteer at her kids’ school and at her church, and go on long dates with her husband. Full bio at About Tel.


Hi! I have the exact same piano and I’m dealing with a singular key sticking. I’m not seeing where those little rods are underneath the front panel. Any details to help me look for them or see them? Thank you!
The rods are in the wooden part called the hammer. The only way to see it is if you are on the floor, looking up into the bottom of the piano bench (underneath where the keys sit). You should see all those hammer lined up — 88 of them. Check to see if that little rod is not pushed in. Or perhaps, it is missing. That would be your problem.